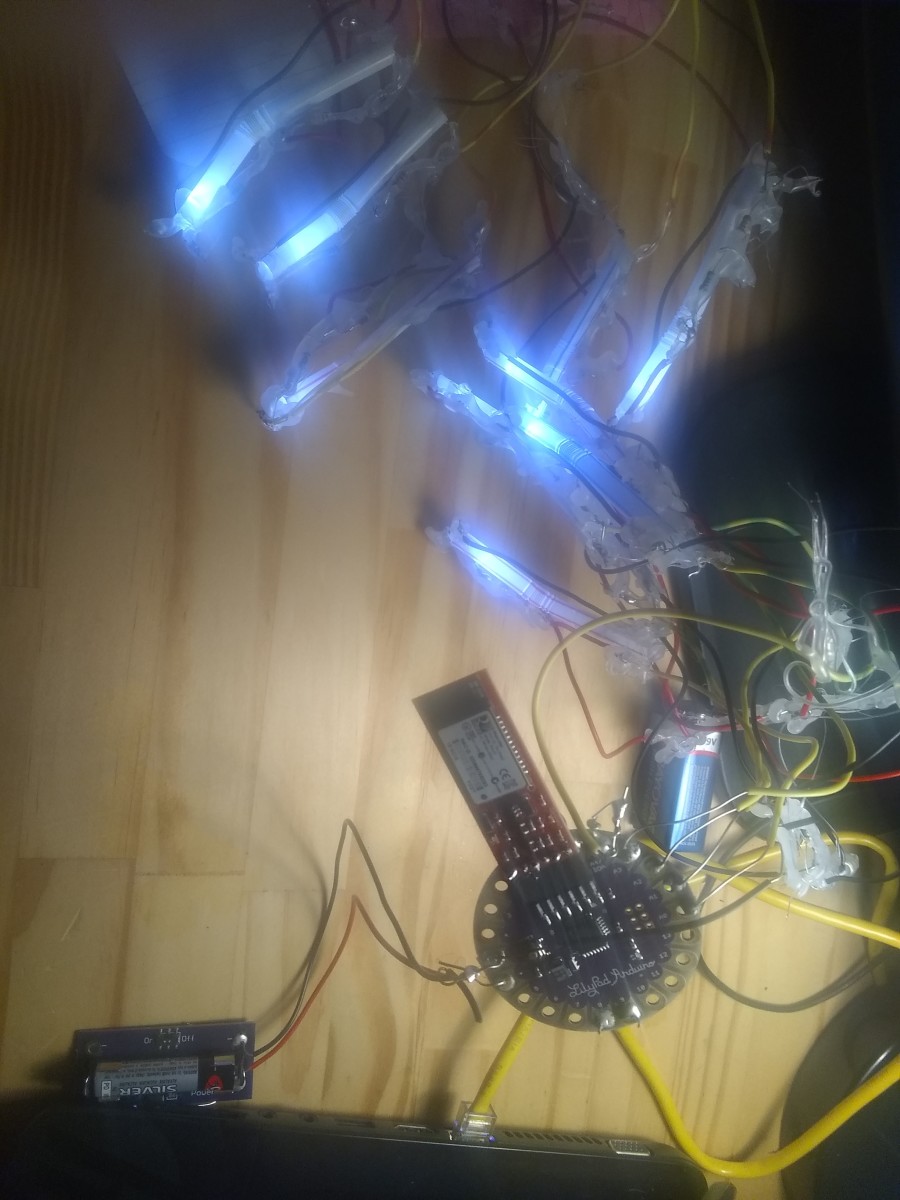
In the setup part of the Arduino program, we set the baud rate at 1,200 Average takes 16 analog values and averages them together sixteen times in total. After this, we divide by the number of analog values taken. Then, the function returns a fraction. By doing these things, it gives a more accurate representation of the final analog value. The first printed character (A) gives some separation between the values, and the second printed number 5-9 after the initial printed value. It allows us to identify which sensor it is. The third printed value is the actual analog value of the flex-sensor.
A Little Python
These are the layers of the neural network. We have only one input layer and one hidden layer. The number of neurons for this ANN was arbitrary and can be improved. However, the output layer does need 28 neurons for the encoded letters of the alphabet. Categorical_crossentropy was used because this is a classification problem. Almost all of the following code is the same as the Python script made in the previous tutorial. But note the use of a graph at the bottom. This was used to save the state of the neural network.
Would You Like to Know More About Making Machine Learning Typing Gloves?
If you’re interested in this process, it’s a great idea to check out my first in-depth tutorial on this subject, which contains further information: How to Make Better Machine Learning Typing Gloves This content is accurate and true to the best of the author’s knowledge and is not meant to substitute for formal and individualized advice from a qualified professional. © 2021 Brock Lynch

